Have you ever been frustrated by your garage floor’s dingy, stained condition? Are you looking for a way to give your garage a quick, affordable facelift?
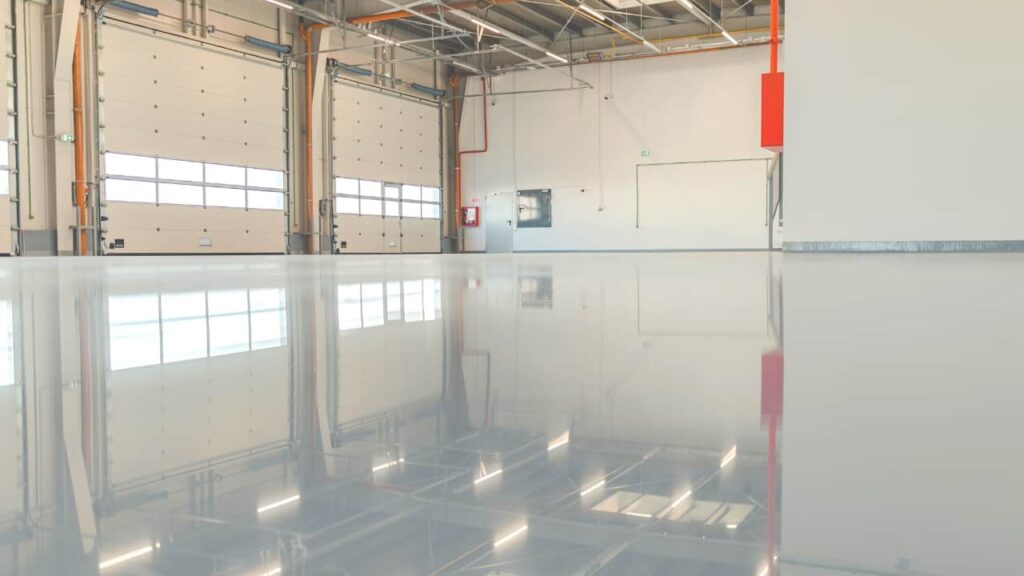
Whether your floor is looking a bit dull and in need of an update or whether you’re starting from scratch, epoxy garage floors are an excellent option.
Not only is epoxy flooring aesthetically pleasing, but it’s also highly durable and easy to clean.
In this blog post, we’ll discuss how to install an epoxy floor in your garage—no contractor is required.
We’ll explore the materials needed and provide step-by-step instructions on prepping the surface of your garage floor before applying the epoxy.
Epoxy Garage Floor Process

What You’ll Need
To ensure that the epoxy installation is done correctly, the following tools and materials are necessary:
Tools:
- hammer drill
- trowel
- adhesive spreader
- rubber mallet
- mixing paddle for a drill
- paint roller with an extension handle
- wet/dry vacuum cleaner
- utility knife or razor blade scraper
- protective gear
Materials:
- Epoxy coating (usually two-part epoxy with a base coat and clear topcoat)
- primer coat if required for concrete floors (this helps create an even surface for better adhesion of the epoxy coating)
- anti-slip additive (if desired— this helps provide traction on wet surfaces)
- patching material such as sandpaper to smooth out any bumps or cracks in the floor before applying the epoxy coating
- top sealant to help protect against wear and tear
- painter’s tape to line off areas of your floor before applying cleaning supplies to keep all surfaces completely free from dirt or debris before starting
Connect With A Garage Expert
Connect with local experts, Compare quotes, Get the best price.
How to Install an Epoxy Garage Floor
So you’ve decided that you want to give your garage a makeover, and you’re looking into epoxy flooring as an option.
To help you tackle this project correctly, this guide will provide step-by-step instructions on installing it correctly!
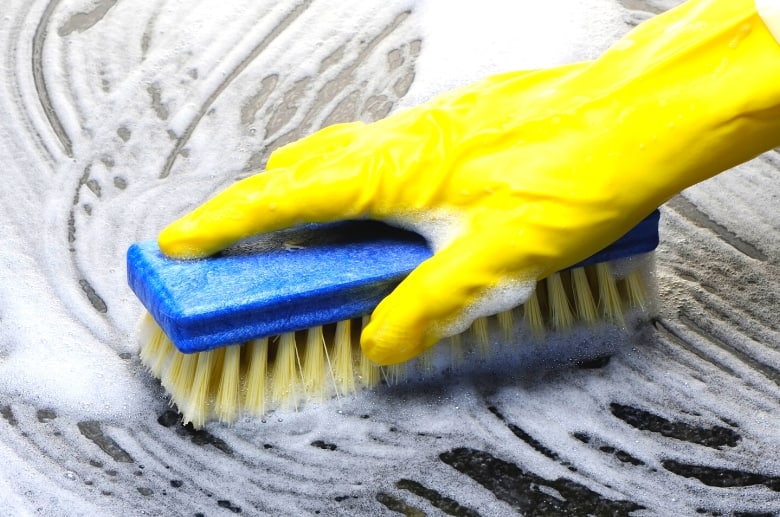
Step 1: Clean and Degrease the Garage Floor
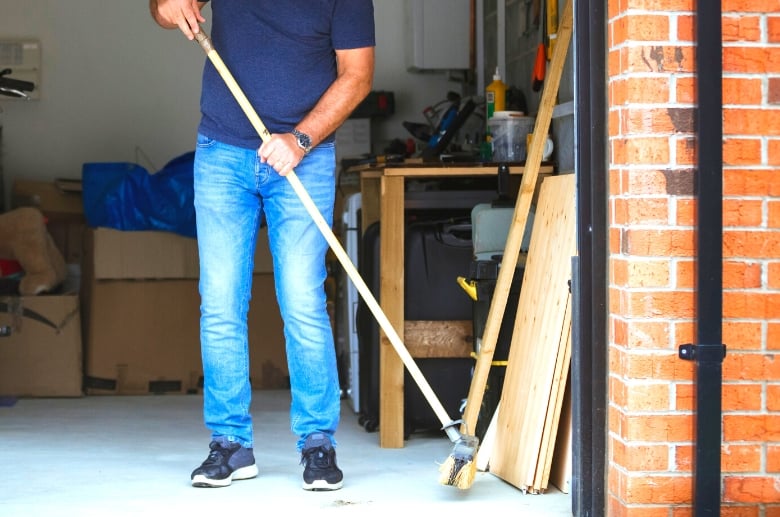
The first step of any successful epoxy installation is properly cleaning and degreasing the garage floor. If there are any dirt or oil stains on the surface, they must be removed before continuing.
Start by sweeping the entire area with a broom or vacuum cleaner to remove any loose debris. Then use a degreaser and/or heavy-duty cleaner such as trisodium phosphate (TSP) mixed with water to clean any stubborn stains or buildup from the floor thoroughly.
Allow the area to dry completely before moving on to Step 2.
Step 2: Prepare the Acid-Etching Mixture
This step is optional but recommended by many professionals.
You’ll need to mix muriatic acid into the water at a ratio of 1 part 33% hydrochloric acid to 2 parts water to make a 10% solution.
This solution will be used in Step 3 as part of the etching process, which helps create a strong bond between the concrete surface and your new epoxy coating.
Garage Insider Tip: Be sure to wear protective gear such as gloves, goggles, and clothing that covers your arms and legs during this process, as it can cause skin irritation if it makes contact with bare skin.
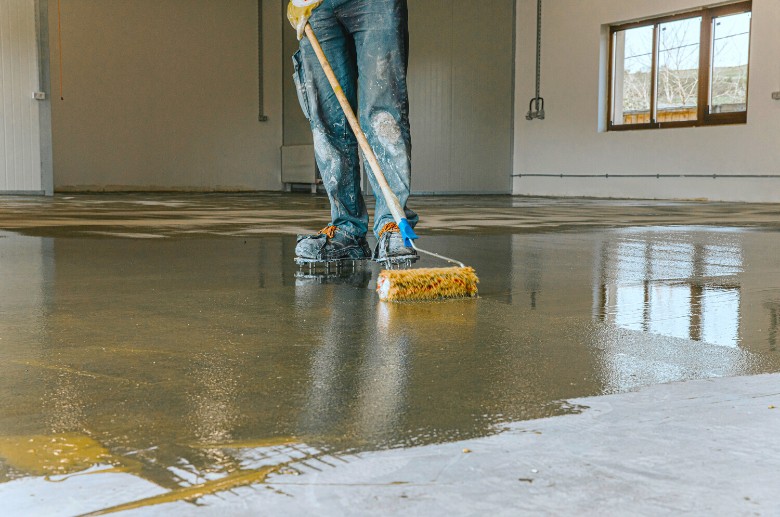
Step 3: Scrub and Etch the Concrete
Once your acid-etching mixture is ready, use a stiff brush or scrubbing pad attached to a pole handle tool to scrub the entire garage floor in small circular motions with your prepared solution until all areas have been covered completely (upwards of 30 minutes).
Garage Insider Tip: When working with epoxy, time is of the essence. You will have no more than two hours to apply the epoxy and even less time in hot weather. During the application and initial curing, make sure the garage is well-ventilated.
Finally, allow for complete drying (at least 24 hours) before proceeding to Step 4.
Step 4: Sweep, Vacuum, and Rinse the Floor
Before applying any coats of epoxy paint, it’s important that all extra dust from etching be removed from the garage floor beforehand.
Begin by sweeping everything up using either a push broom or shop vacuum designed specifically for wet or dry applications.
Both should work fine here, depending on what kind of mess was created during Step 3’s etching process (if necessary, use additional tools such as compressed air cans).
Then, using a garden hose attachment or pressure washers, spray clean water all over to remove any remaining dust particles.
Garage Insider Tip: Do not utilize these tools too close together. However, otherwise, they may cause damage due to over-abrasion.
Allow the floor to dry completely before moving to the next step.
Step 5: Mix the Epoxy
Start by mixing 1 part epoxy resin with 1 part hardener according to manufacturer instructions in order to form an even coat over your newly prepared garage flooring surface.
Set the can aside for around half an hour to allow the chemical reaction between the two materials to occur. This reaction may make the bucket feel warm to the touch.
Garage Insider Tip: To ensure optimal mixing results, stir slowly and carefully for at least 10 minutes per gallon using either hand drill attachments equipped with flat blade stirring paddles OR mixing buckets or trays and nonmetallic spoons or spatulas. Failure to do so could result in improper curing times later down the road when installing top coat sealer layers.
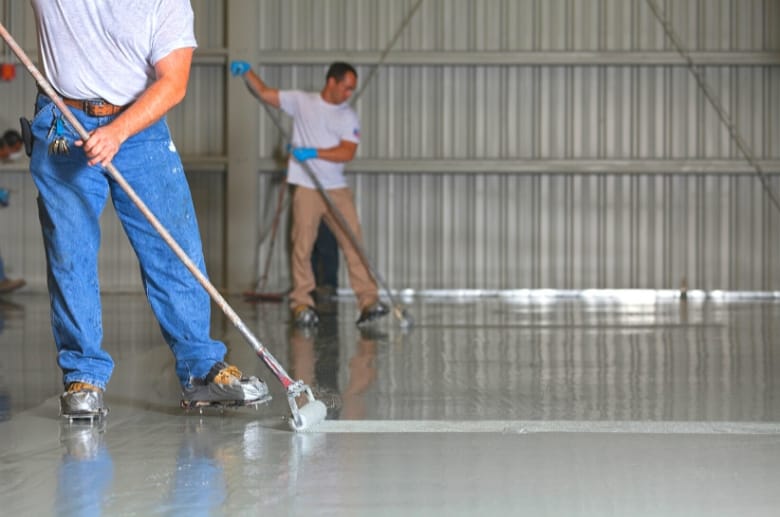
Step 6: Apply and Rollout The Base Coat
When everything is ready, start by evenly rolling out single, thin coats across the entire area, taking care not to move too quickly, or runs will form after they dry.
You have about two hours to use the epoxy.
Begin by pouring one-third to one-half of the epoxy into a paint tray. Then, using a brush, cut in along the edges of your walls, tackling five-foot-by-five-foot sections at a time.
Once you’ve finished cutting in with the brush, switch out for a roller and begin coating your garage floor with more epoxy, always maintaining that wet edge to avoid any lapping marks.
Once the base layer has been applied, wait for at least 12 to 24 hours to allow it to dry before applying a second coat.
Step 8: Apply A Second Coat
Apply a second layer in the same manner as before, making sure to add additional coats until the desired color depth is achieved, or the maximum number suggested by the manufacturer is reached.
Garage Insider Tip: If you don’t want a glossy floor (as they’re slippery when wet), add a non-skid floor coating to the epoxy for the second coat. Stir with the drill and stirring bit.
If you want to add color flakes, scatter them lightly while the area is still wet. Add more flakes until you create your desired pattern.
Step 9: Let the Epoxy Flooring Cure and Apply a Sealer
Once your floor is completely dry, it’s time to apply the sealant layer. This will protect your epoxy coating from wear and tear and ensure that it lasts for years to come.
Begin by cleaning up any dust created during the curing process with either a broom or shop vacuum. Then, mix up the epoxy sealer according to the manufacturer’s instructions and use a paintbrush or roller to apply it.
Allow the sealer to dry for at least 24 hours before adding any floor mats, furniture, or rugs. This will give the coating time to adhere properly.
Connect With A Garage Expert
Connect with local experts, Compare quotes, Get the best price.
When To Install Epoxy Flooring
Installing epoxy flooring is a long-term investment, so planning your installation carefully is important.
While epoxy flooring typically cures within 24 hours, extreme humidity and temperature levels can impact its installation and curing processes.
The temperature and humidity can cause an uneven surface or bubbles, eventually leading to the floor chipping away.
Warmer temperatures can cause epoxy floor paint products to cure faster, while cooler weather can slow the installation process. For best results, epoxy should be installed between 60°F and 85°F when the humidity is below 80%.
So depending on where you live in the country, a certain period of the year might be best for your epoxy garage floor installation.
To ensure you get the most out of your epoxy coating, plan accordingly with temperature and humidity in mind, so you’ll have a smooth, durable finish that will last for years.
When To Call a Pro
When it comes to epoxy garage floors, we understand the urge to save money by trying to install or repair them yourself.
Knowing when to get a little help from the pros is key when it comes to DIY epoxy projects. After all, you don’t want to start something you can’t finish!
However, there are often risks involved with DIY projects that can result in costly mistakes.
This rings especially true when it comes to epoxy garage floors. Due to the specialized skills and knowledge required to properly install epoxy floor coating, calling a pro is often the smart choice.
Professionals know exactly what is needed for proper installation and ensure you get durable and quality epoxy materials for optimal results.
Making this switch removes the hassle and guarantees that your epoxy coating has been properly and safely applied.
Conclusion
Epoxy garage floors are an excellent way to enhance your garage’s look and feel while protecting its surface from wear and tear.
While installing epoxy flooring yourself is possible, calling a professional is often the right choice for quality results.
Planning ahead with temperature and humidity in mind will help ensure that your epoxy flooring is properly cured and ready to use, so you can enjoy it for years to come.
With a few tips and tricks, you’ll be able to get the perfect garage floor in no time!