Connect With A Garage Expert
Connect with local experts, Compare quotes, Get the best price.
If you notice cracks, holes, or bumps on your driveway, do not ignore them because they often lead to more significant problems in the long run.
A garage apron protects your garage from rain, snow, and ice. If you don’t fix your cracked apron or install a new one, the cracks will further damage it, and water will seep through them, damaging your garage.
For an average homeowner like you, pouring concrete apron in front of garage may seem challenging, and for good reason. Pouring concrete apron requires precision, proper materials, and specific techniques.
However, we’ll show you a step-by-step process to fix or change your concrete apron like a pro easily. So, without any more blabbering, let’s start and make that area in front of your garage strong and good-looking again.
What is a Concrete Garage Apron?
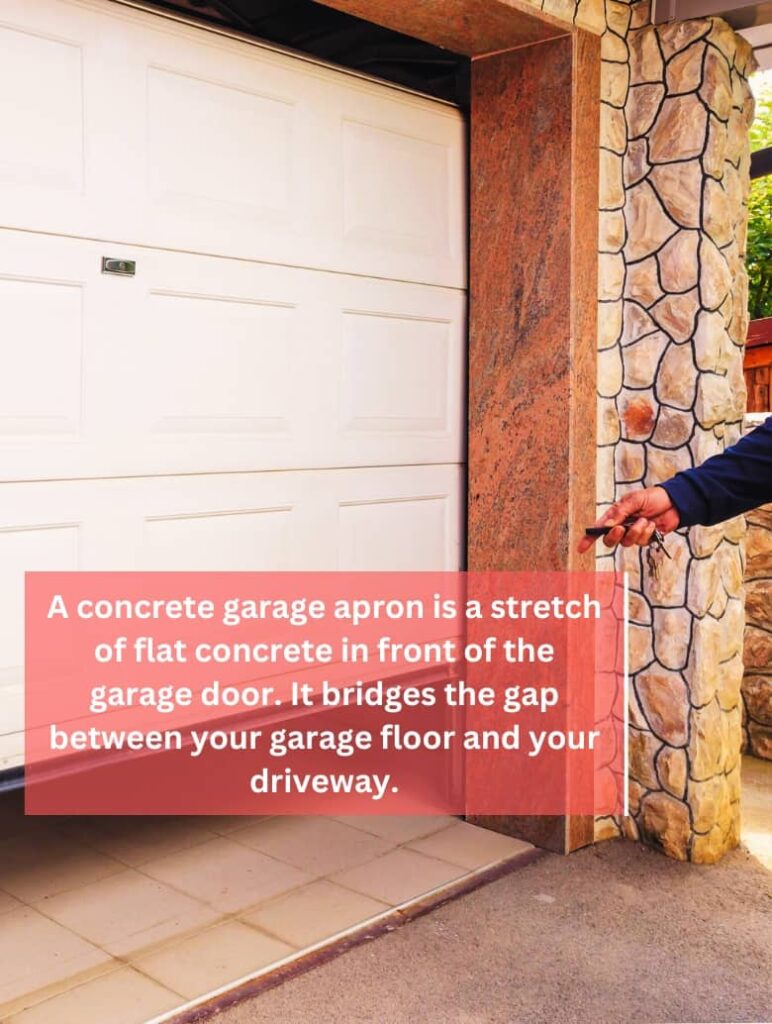
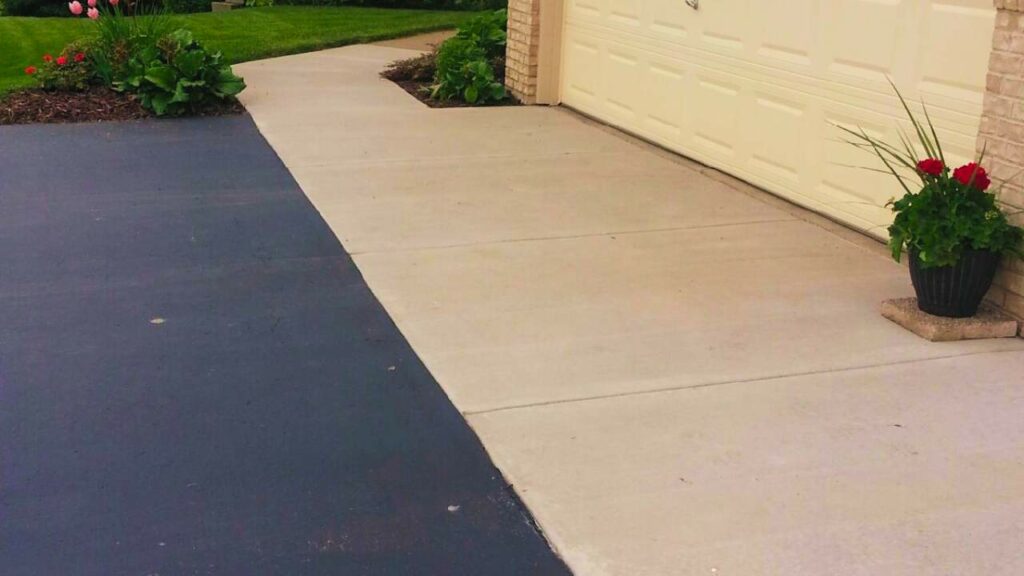
A concrete garage apron is a stretch of flat concrete in front of the garage door. It bridges the gap between your garage floor and your driveway.
It’s typically 2 to 6 feet wide and extends across the entire width of your driveway and garage door. Sometimes, it may go all the way around your garage.
Why Should I Install a Concrete Garage Apron?

The concrete apron serves several vital functions:
Protects Against Moisture: The concrete garage apron acts as a protective barrier. It prevents rainwater, ice, and snow from infiltrating your garage and causing damage.
Smooth Slope Transition: It ensures a smooth and gradual transition between your garage floor and driveway for easy movement of your vehicles.
Visual Demarcation: The concrete garage apron often has a different color or decorative stamping to create a clear visual separation between your garage and the concrete driveway apron.
Efficient Water Diversion: During heavy rainfall or snowmelt, it diverts and keeps water out of your garage to reduce the risk of flooding and water damage.
Pre-construction Practices and Checklist Guide
Before installing a concrete apron, it’s essential to consider the legal aspects. Ensure you or your chosen contractor has the required permits for the concrete apron installation per local regulations.
Spending some time planning and getting ready can help you avoid future problems. Here are essential things to consider before pouring concrete:
- Size: You should match the apron’s length with your driveway or garage width and extend it to outline your garage. Wider garage aprons improve drainage by providing more space for water to flow away. They also let you install radiant heating systems beneath the surface, preventing winter snow and ice buildup.
- Thickness: The concrete you use should be at least 4 inches thick. If you expect heavy vehicles like trucks, consider going for 6 inches to make it stronger. Certain soils (e.g., clay) may need thicker concrete due to their low load-bearing capacity.
- Concrete Strength: Pick strong concrete (rated at 4000 psi or higher). You can strengthen it more by adding special fibers or using metal bars or wire mesh. This extra support prevents cracks and ensures your apron lasts.
- Insulation: Add insulation to protect concrete from temperature changes. Insulation controls temperature, preventing cracks in extreme hot or cold weather. For insulation, place 2-inch Polystyrene Insulation Panels on the prepared grade.
- Vapor Barrier: Add vapor barriers to stop moisture from getting into the concrete and creating cracks. A vapor barrier directly under the apron concrete slab is best to prevent heat loss and moisture buildup.
How to Pour Concrete Apron in Front of Garage
Now that you know what to consider before concrete apron construction, it’s time to explore the concrete pouring process.
Follow the following instructions to pour the concrete apron in front of your garage:
Step 1: Clear the Area
Begin by clearing the area in front of your garage. Remove any debris, rocks, or objects hindering the pouring process.
Step 2: Dig the Soil
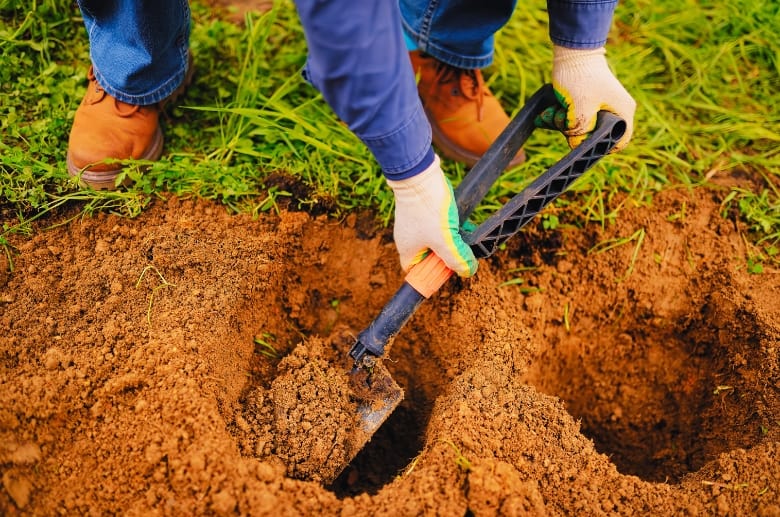
Use a shovel to dig into the soil, creating a trench or ditch where your concrete apron will sit.
Follow the steps below:
- Measure and mark the boundaries of your trench using spray paint or chalk.
- Alternatively, you can use wooden stakes and string to create a guideline for the trench’s depth and width.
- Dig within the marked guidelines to the desired depth.
Note: The depth should match your planned apron thickness.
Step 3: Level the Soil
After digging, ensure the soil is level and evenly graded across the entire area. Follow the steps below:
- Get a long carpenter’s level and place it on the trench soil.
- Make sure it’s resting flat (i.e., the bubble should be in the middle, between the two lines).
- If it’s not, that means the ground isn’t level.
- You can fix it by adding or removing soil until the bubble is in the middle.
- Do this along the entire trench to make all the soil level.
Note: If you also want to add a drainage system, you’ll need to make the trench sloped so that the water naturally flows to the drainage point.
Step 4: Compact the Soil

After leveling the soil, the next step is to compact it for stability. You can use a soil compactor (for larger areas) or a tamper (for smaller spaces).
Using a Tamper:
- Stand with your feet shoulder-width apart and grasp the handle firmly.
- Lift the tamper and forcefully bring it down onto the soil surface.
- Use your body weight to help drive the tamper into the ground.
- Repeat this process over the entire trench area to compact the soil evenly.
Using a Soil Compactor:
- Carefully follow the manufacturer’s instructions for operating the machine.
- Walk behind the compactor, guiding it in straight lines across the trench.
- Overlap each pass slightly to ensure that no area is missed.
- Be cautious and maintain a firm grip on the machine to ensure safe and effective compaction.
Note: After compaction, check the soil surface for uneven areas or low spots. If you find any, add more soil and compact it until the entire trench is uniformly compacted.
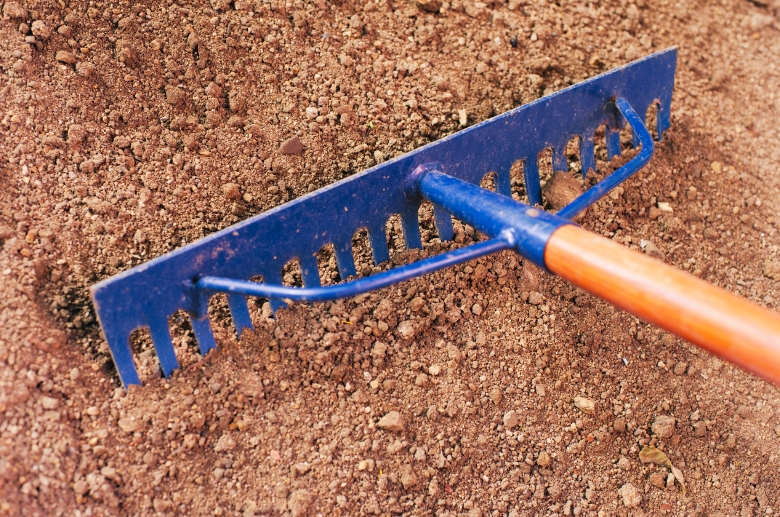
Step 5: Add and Compact Gravel

Add a 4-inch deep layer of gravel, ensuring the slab remains about 2 inches above grade. Compact it thoroughly, as explained in the previous step, to create a solid base for your concrete.
Step 6: Layout the Drain and Insulation
If adding a drainage system, dig a sloped trench to guide water to the desired drainage point. Insulation material is not typically used here.
To install radiant heating, you need to place insulation beneath the concrete to keep the heat inside.
Pro Tip: Use measuring tape to ensure the drainage pipes or heating equipment go exactly where your plans say.
Step 7: Install Vapor Barrier and Reinforcement
Place a vapor barrier directly on top of the compacted gravel. The barrier will prevent moisture from seeping into your concrete. Additionally, you need to position reinforcement materials like rebar or wire mesh at this stage for added strength.
Step 8: Mix the Concrete According to the Specifications
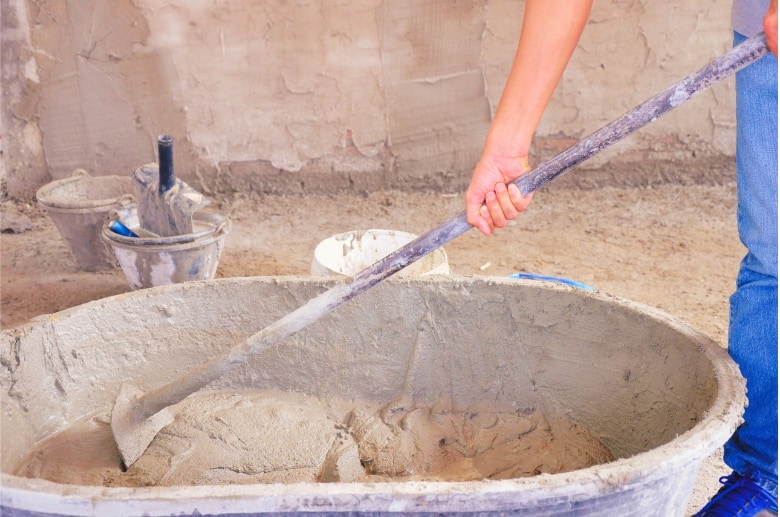
After installing the vapor barrier, you should proceed to mixing concrete. Follow these steps carefully to ensure you mix the concrete to achieve the desired consistency and strength for your construction requirements.
Gather Your Materials and Equipment
First, collect all the necessary materials for mixing concrete, including cement, sand, and aggregate.
Ensure you have clean containers or tools for mixing, such as a wheelbarrow, concrete mixer, or a sturdy plastic bucket.
Use clean water and measuring tools.
Determine Your Mix Ratio
Next, you should decide on your mix ratio:
- Use a standard mix ratio, i.e., 1:2:3 (one part cement, two parts sand, and three parts aggregate).
- Adjust the quantity based on your driveway needs. For instance, if you’re using one bucket of cement, you’ll need two buckets of sand and three buckets of aggregate to maintain the ratio.
Add Water Gradually
- Pay attention to the water-to-cement ratio to achieve the right consistency and strength.
- Start adding water gradually while mixing, adjusting it according to your needs.
- Mix thoroughly until the concrete is workable but not too dry or soupy.
Mix the Concrete
If mixing by hand, blend the ingredients thoroughly for several minutes to ensure uniformity and eliminate clumps.
Alternatively, a mechanical concrete mixer typically takes 3-5 minutes for a batch to be well-mixed.
Check Whether the Concrete is Properly Mixed
Now, check your concrete for proper mixing:
- Ensure it has a consistent color and texture throughout and no visible streaks or dry pockets in the mixture.
- When you grab a handful, your concrete should hold its shape without excess water seeping out and shouldn’t be crumbly.
Note: Mix and water requirements may vary depending on the type of cement, additives, and your project specifications. Always refer to the manufacturer’s instructions and make any necessary adjustments to achieve the desired results for your concrete project.
Step 9: Pour It on the Form Boards and Spread It Evenly
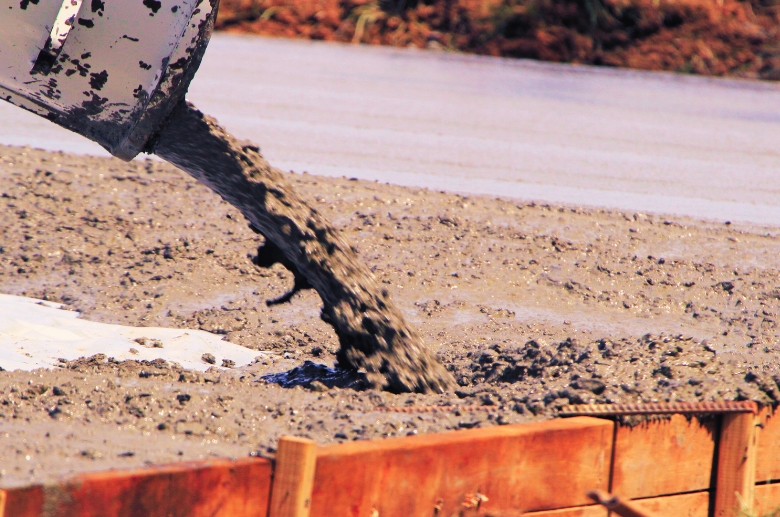
Set up form boards along the edges of your apron to define the shape. Then, pour the mixed concrete onto the prepared area and distribute it evenly within the forms.
Note: Be quick but careful so it doesn’t spill.
You can employ a shovel, rake, or screed board to move and level your concrete. Divide larger areas into sections for manageable spreading.
Ensure consistent thickness by adding extra concrete to any low areas you see. Also, check for high spots and adjust by redistributing your concrete as needed.
Step 10: Smoothen the Surface and Create a Slope
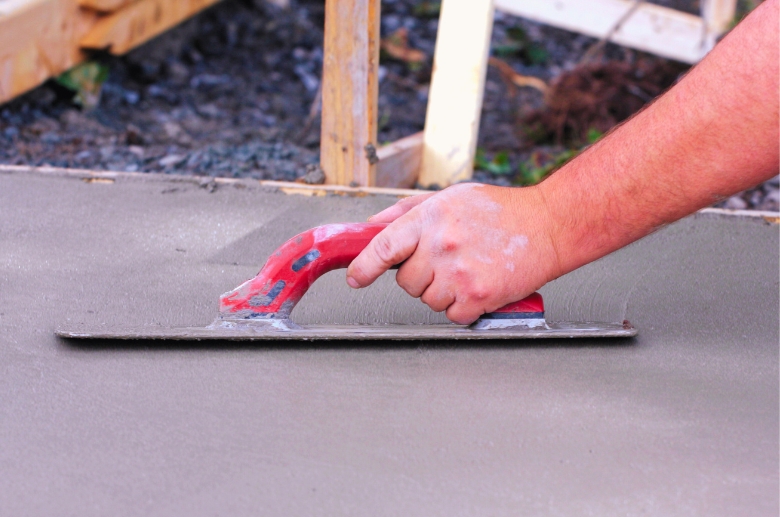
With the concrete in place, use a screed board or a long and straight board to smooth the surface. Gradually slope the concrete away from your garage to aid in water runoff.
Step 11: Let It Dry Overnight and Remove the Form Boards
Allow the freshly poured concrete to dry. It typically takes concrete at least 24 hours to dry. However, you should follow the instructions specified on the concrete product.
Press it with your thumb to check whether the concrete is dry; it should feel firm.
Carefully remove the form boards once the concrete is adequately set and dry. Wear safety gloves and safety glasses to protect your hands and eyes during the removal process, as specified below:
- Start at one end of the concrete apron and gently tap the wooden form boards with a hammer to loosen them from the concrete.
- Once loose, simply pull them out carefully to avoid damaging the concrete finish.
If you encounter stubborn or larger boards, use a pry bar:
- Carefully insert the pry bar between the board and the concrete.
- Apply gentle pressure to lift the board away from the concrete’s edge.
- Once loose, pull it out.
- Do not use excessive force, as this could damage the concrete’s finish.
Note: Once you’ve removed all the form boards, check the edges of the concrete apron. If you notice any rough or uneven spots, you can use a concrete edging tool to smooth and finish the edges for a polished look.
Your concrete apron is now ready to serve as a smooth transition between your garage and driveway apron.
Connect With A Garage Expert
Connect with local experts, Compare quotes, Get the best price.
Local Codes and Permits for Concrete Garage Apron
Understanding the local codes and permits is crucial before pouring the concrete apron in front of your garage.
The local codes and permits several important aspects and requirements, such as who’s legally allowed to install the concrete apron, the required garage apron dimensions, what are acceptable apron materials, etc.
Failing to follow the local codes or doing so without necessary permits can lead to legal and/or financial penalties. But more so, you should follow these local codes as they ensure your safety and that of your loved ones.
However, since different states and regions have varying codes and standards for aprons, tracking them all is difficult. That is why it’s best to consult professionals to ensure proper compliance and effective pouring of your apron.
Concrete Apron Installation Cost
From the concrete apron’s dimensions to your locality, many factors decide the cost of your concrete apron installation.
However, for a standard 10-foot by 20-foot concrete apron, you should expect to spend, on average, $800 to $1000 for a DIY installation and $1,500 to $2,500 if you hire a professional.
The following factors will decide the actual cost of your concrete apron installation:
- Dimensions of your concrete apron.
- Average labor wages in your region.
- Cost of materials in your area.
- Whether you do a DIY installation or hire a professional.
Even if you’re pretty sure you can manage a DIY apron installation, it’s not always the best idea:
You might save a few bucks, but you won’t be sure if you’ve followed all local codes and installed the apron correctly. The amount of time and effort required to install a concrete apron is much more than the few bucks you’ll save.
A professional apron installation, on the other hand, is a bit more expensive but ensures higher quality and local regulations compliance.
A well-installed concrete garage apron is an investment in your property’s long-term durability and appearance, so choose wisely.
Conclusion
Your garage apron isn’t just about the looks. It protects your garage from water damage and helps your driveway work smoothly.
So, if your concrete apron has cracks or is completely damaged, it’s time to take action before it’s too late.
But don’t worry. Fixing a cracked garage apron or installing an entirely new concrete garage apron isn’t as tricky as it might seem. With some planning and care, you can complete the job by following the step-by-step guide above.
However, it’s always better to leave the job for the professionals, who come with the right tools and expertise and ensure proper installation.
Frequently Asked Questions
How long should you wait before you can step on the concrete apron in front of your garage?
Walking on your concrete apron after 24 to 48 hours is generally safe. But avoid traffic for at least seven days to allow proper curing.
How long should you wait before you can drive onto the dried concrete garage apron?
Wait at least seven days before driving onto the concrete apron. However, waiting at least 28 days to park buses or other industrial vehicles on the driveway apron is better to ensure that it has reached sufficient strength to support vehicle weight.
What happens if you drive or walk on the concrete garage apron sooner than needed?
If you use it too soon, the concrete may crack, and you could leave tire marks or footprints. It also weakens the concrete, making it less durable in the long run. So, it’s essential to be patient and set it correctly.